
Getting Started with Medaius
Learn how to navigate and use the Medaius Clinical Workspace to streamline your daily clinic workflows.
Welcome to Medaius, your modern, AI-ready clinical workspace. Medaius is designed to make healthcare documentation, scheduling, and billing simple, paperless, and efficient so you can focus on what matters most: delivering exceptional clinical care.
Whether you are a clinic administrator, practitioner, or front-desk receptionist, this guide will walk you through the workspace features step-by-step.
Explore by Module
Select a module below to learn how it works and how to incorporate it into your clinical workflow:
Administration & Security
Clinic & Team Management
Invite team members, assign locations, switch workspaces, and manage basic clinic details.
Organization Configuration
Configure clinic branding, custom ID formats, patient privacy, booking rules, and note templates.
Roles & Permissions
Assign staff roles, configure custom permissions, and manage patient access circles.
Team Communication
Keep your clinic team aligned with announcements, comments, and reactions.
Clinical Operations
Patient Management
Register patients, view historical records, and manage patient profiles.
Appointments & Booking
Schedule visits, set doctor timetables, and share online booking URLs.
Public Online Booking
Allow patients to discover doctors, explore published schedules, and self-schedule appointments online.
Clinical Notes & SOAP
Document patient encounters, execute checklists, and sign off visits.
Charting & Vitals
Track vital signs, log medical conditions, and record diagnostic lab reports.
Custom Form Builder
Design specialty-specific templates and configure automatic data mapping.
Public Intake Forms
Publish screening questionnaires online, share pre-fill links, and review patient intake submissions.
AI Form Builder & JSON Schema
Generate templates using AI prompts, edit configurations in JSON, and copy ready-to-use schemas.
Telehealth & Video
Launch secure telehealth virtual video consultations directly inside the browser.
Group Therapy
Manage cohorts, schedule group sessions, track attendance, and log progress.
Financial Management
Billing & Invoices
Generate invoices, handle payments, and maintain immutable ledger accounting.
Inventory & Stock
Track stock by batch, monitor expiry and reorder levels, and record deliveries.
Sponsor & NGO Programs
Configure negotiated rates, issue sponsor discount codes, and process claims.
Integrations & Portability
Data Portability
Import legacy records in bulk and export clinic chart backups.
DHIS2 Registry Sync
Sync aggregated clinical indicator reports to national health databases.
Event Webhooks
Subscribe to real-time clinical events and securely integrate external APIs.
AI Assistant
Global Command Bar & Universal Search (Cmd + K)
Medaius includes an omnipresent Global Command Bar accessible from anywhere in the application by pressing Cmd + K (Mac) or Ctrl + K (Windows), or clicking the search box in the top navigation bar.
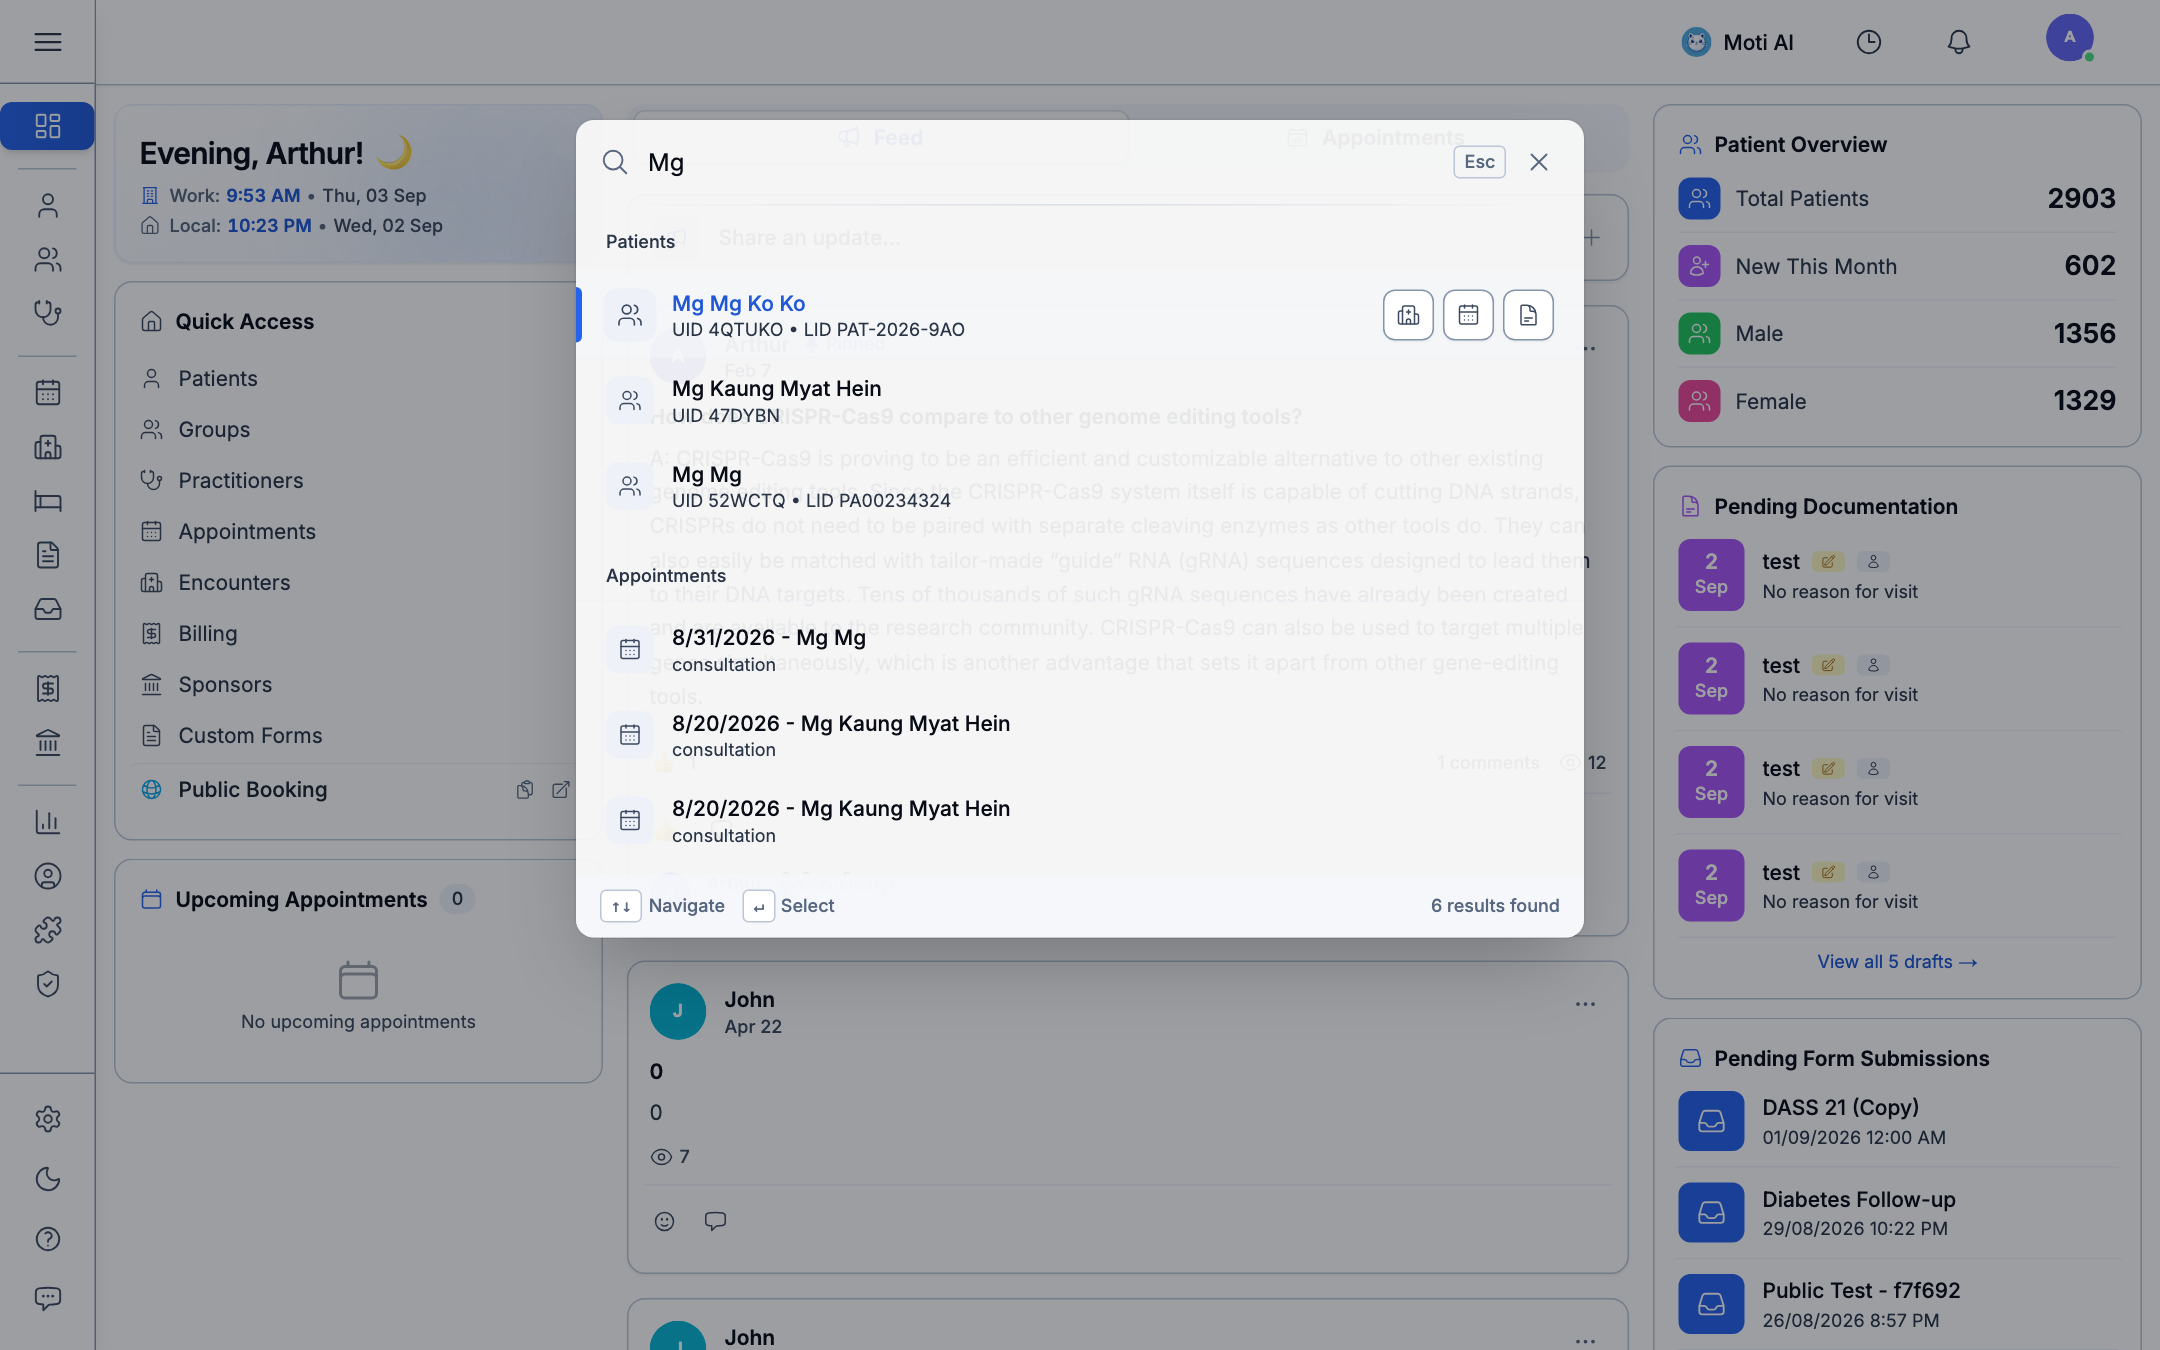
Search Capabilities:
- Patient Lookup:
- Search by Patient Name (e.g.,
Alex Morgan,Sarah Chen,John Doe), Patient UID (4QTUKO,52WCTQ), Local ID (LID) (PAT-2026-9AO), phone number, or national identification. - Direct action shortcuts allow you to open the patient's Medical Record, Book an Appointment, or Launch a Consultation Encounter with a single click.
- Search by Patient Name (e.g.,
- Clinical Encounters & Notes:
- Query past doctor notes, chief complaints, diagnostic impressions, and encounter dates directly from the command bar.
- Universal Platform Navigation:
- Jump instantly to any sub-module or operational tool across the entire workspace (such as Bed Board, Point of Sale, Custom Forms, Billing Ledger, Analytics, or User Settings) without navigating multi-level menus.
- Keyboard-Driven Workflow:
- Use
↑/↓arrow keys to navigate results, press↵ Enterto open, andEscto dismiss.
- Use
Using Medaius on Mobile (Add to Home Screen)
While Medaius is designed primarily for desktop workstations at reception desks and consultation rooms, it is also fully available on mobile devices including smartphones, iPads, and tablets.
To get the cleanest experience, you should save Medaius as a dedicated mobile application by adding it directly to your device's home screen.
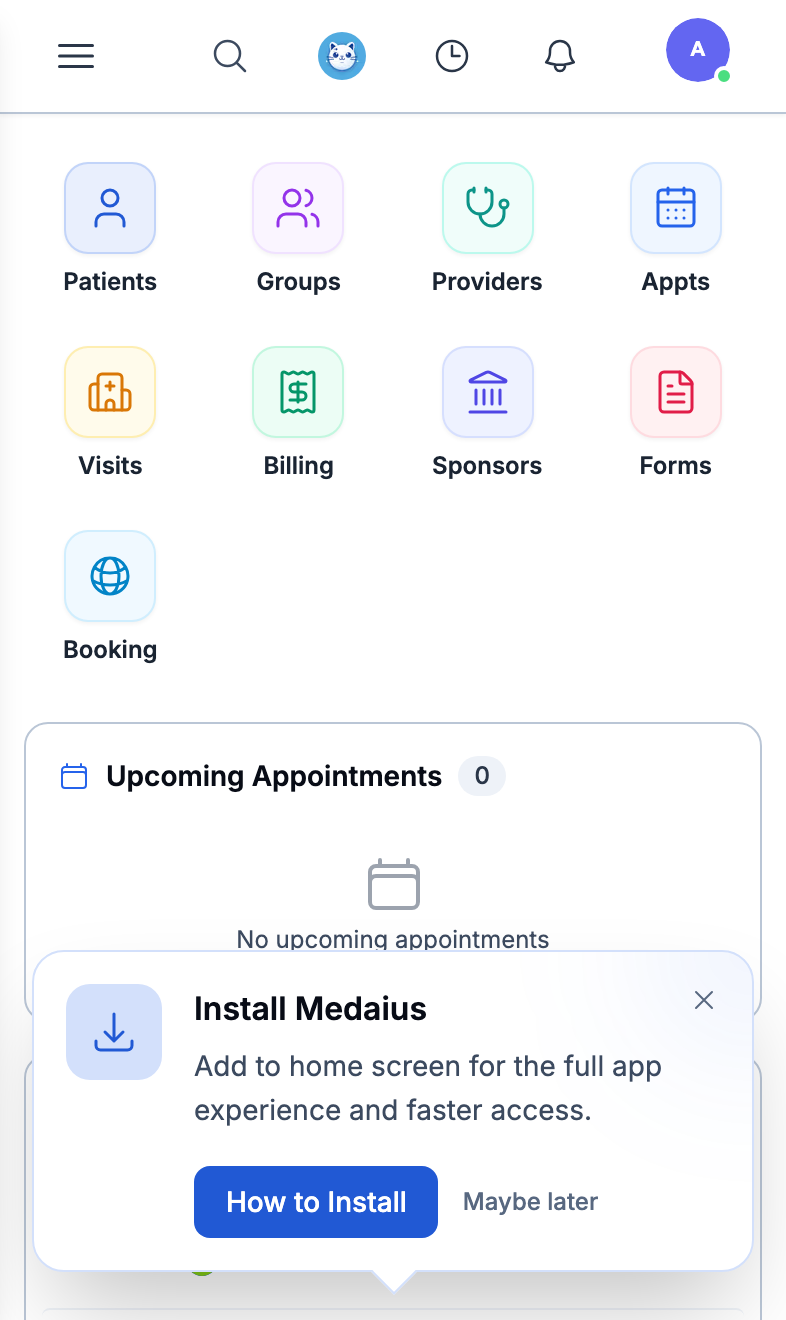
Smartphone (Mobile App)
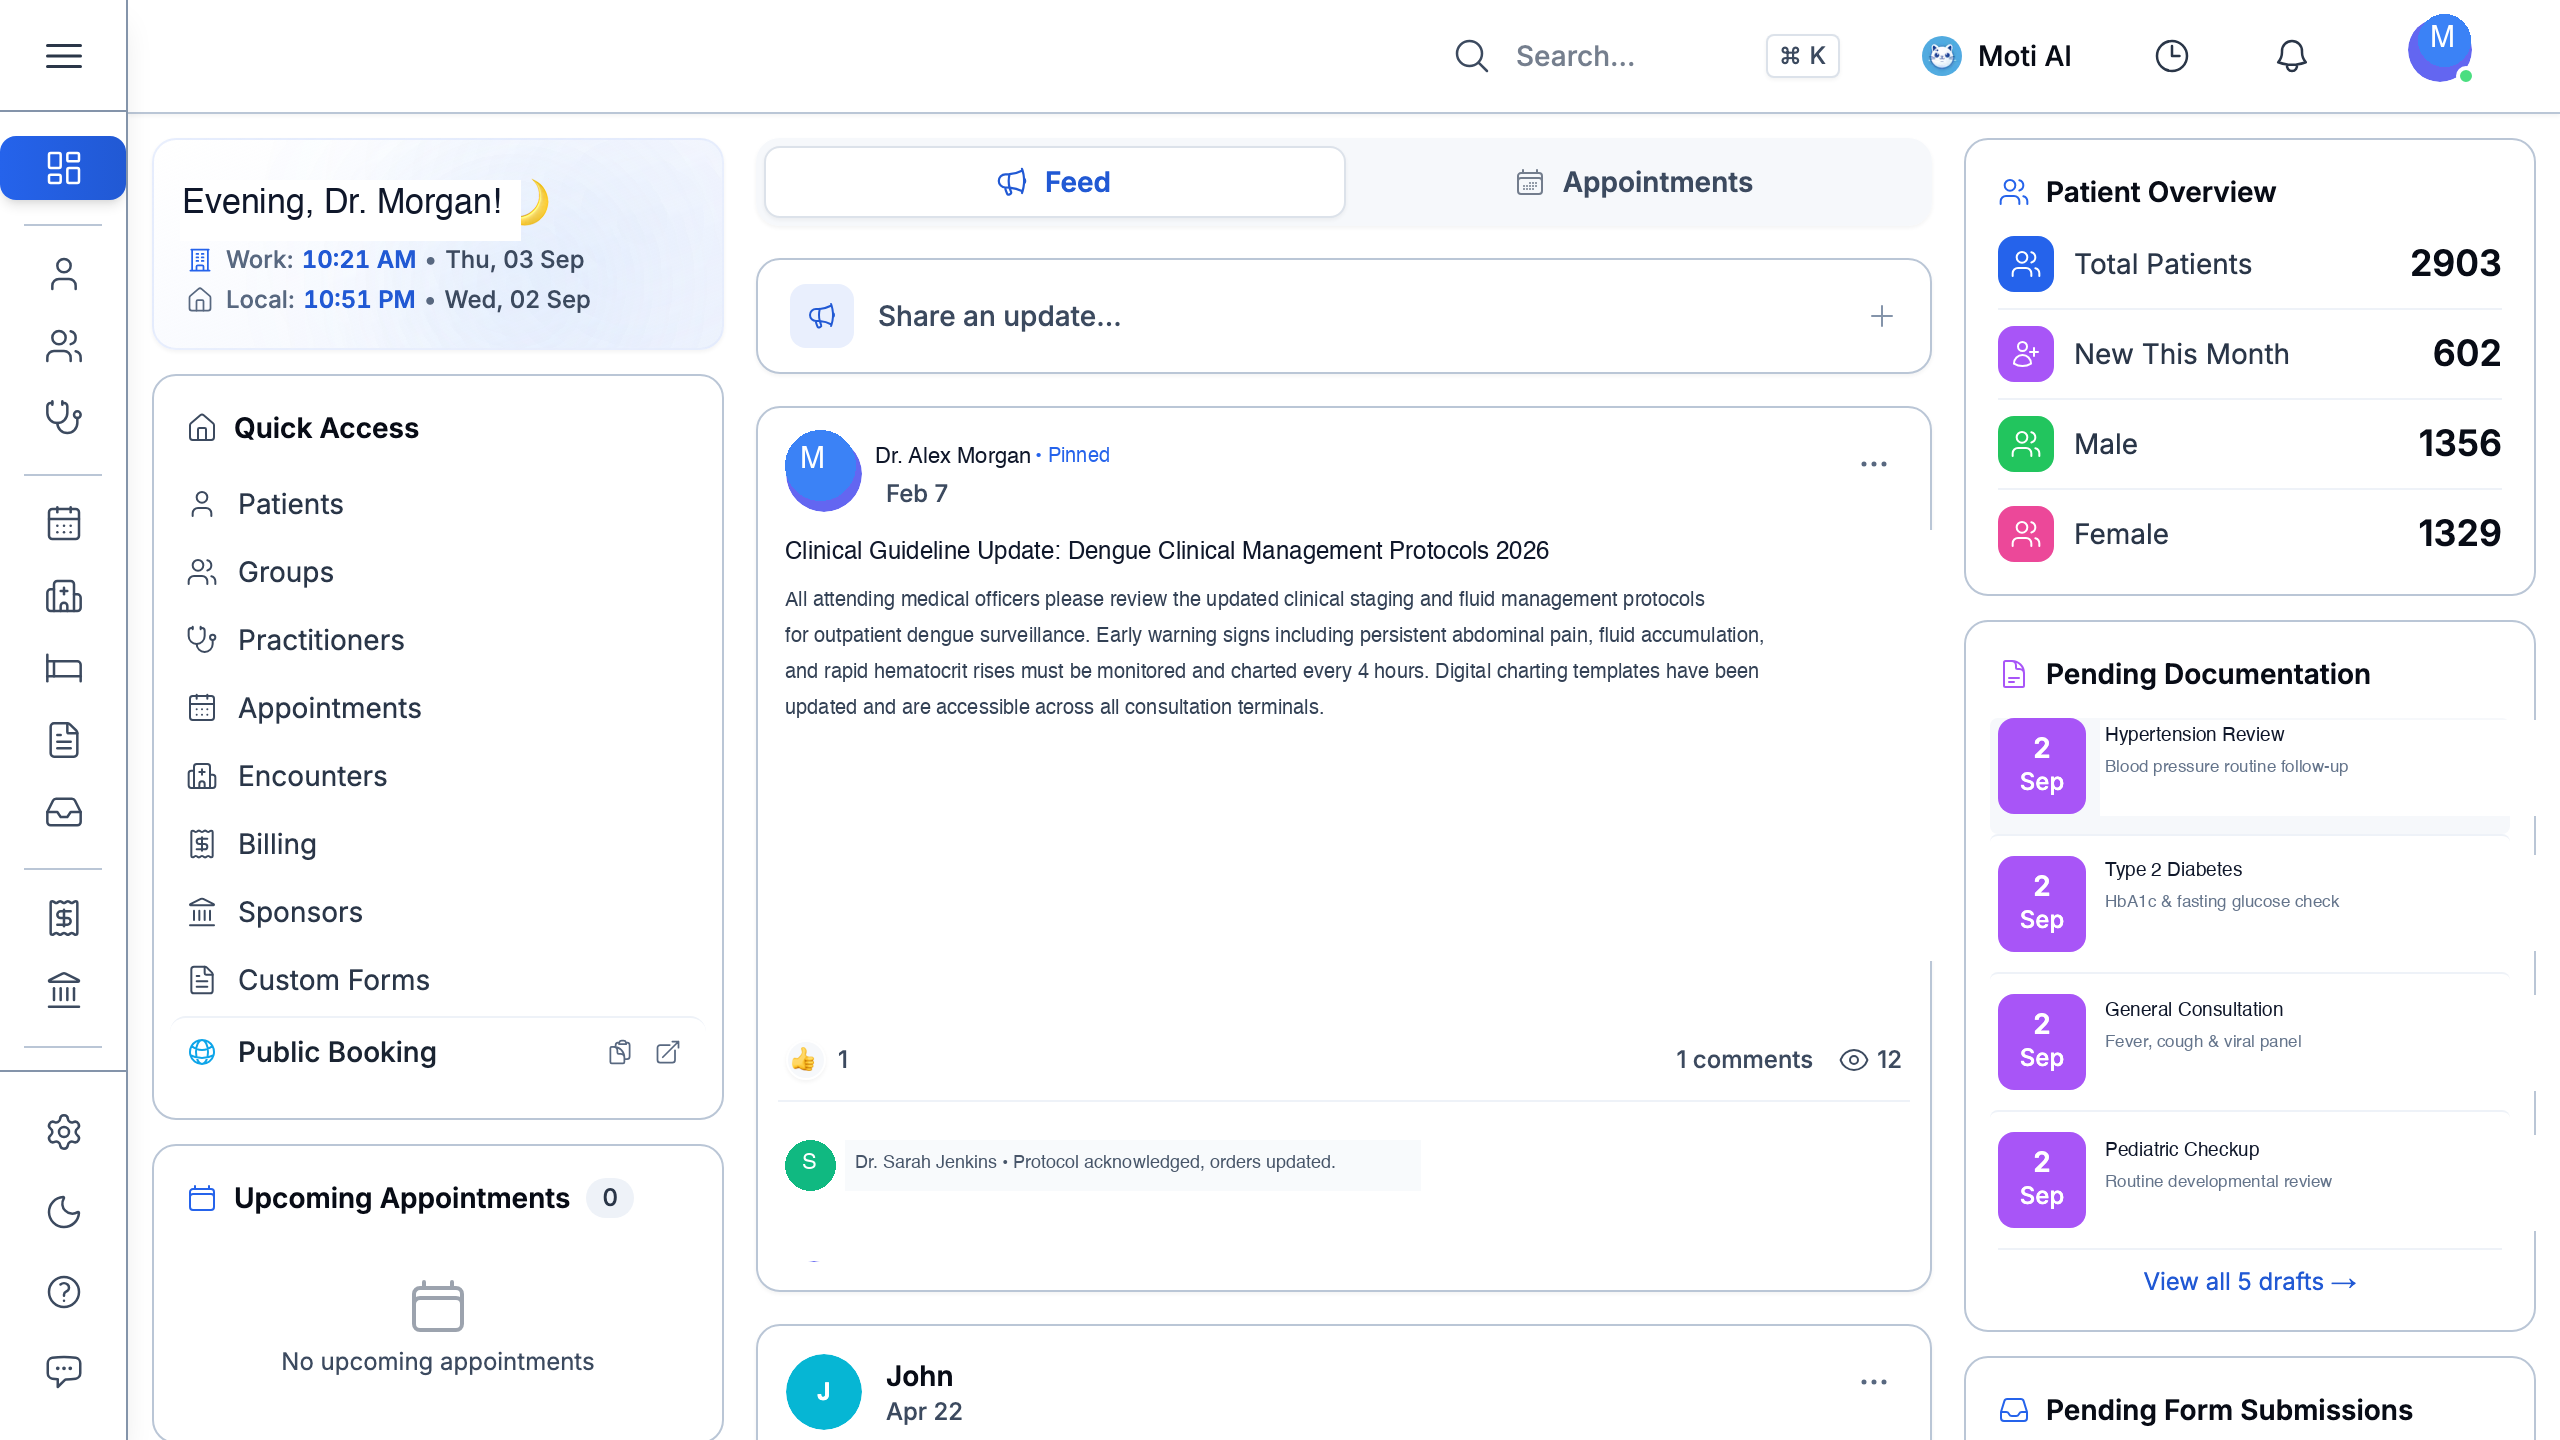
Tablet & iPad
Why Save as an App?
- Fullscreen Experience: Launches in standalone app mode without browser search bars or toolbar clutter.
- Fast One-Tap Access: Placed directly on your home screen alongside your everyday applications.
- On-the-Go Clinical Care: Perform bedside chart reviews, look up medication history, check waiting queues, or consult Moti AI while doing clinic rounds.
How to Install on iOS (iPhone & iPad):
When you open Medaius in Safari, tap "How to Install" on the bottom prompt, or follow these simple steps:
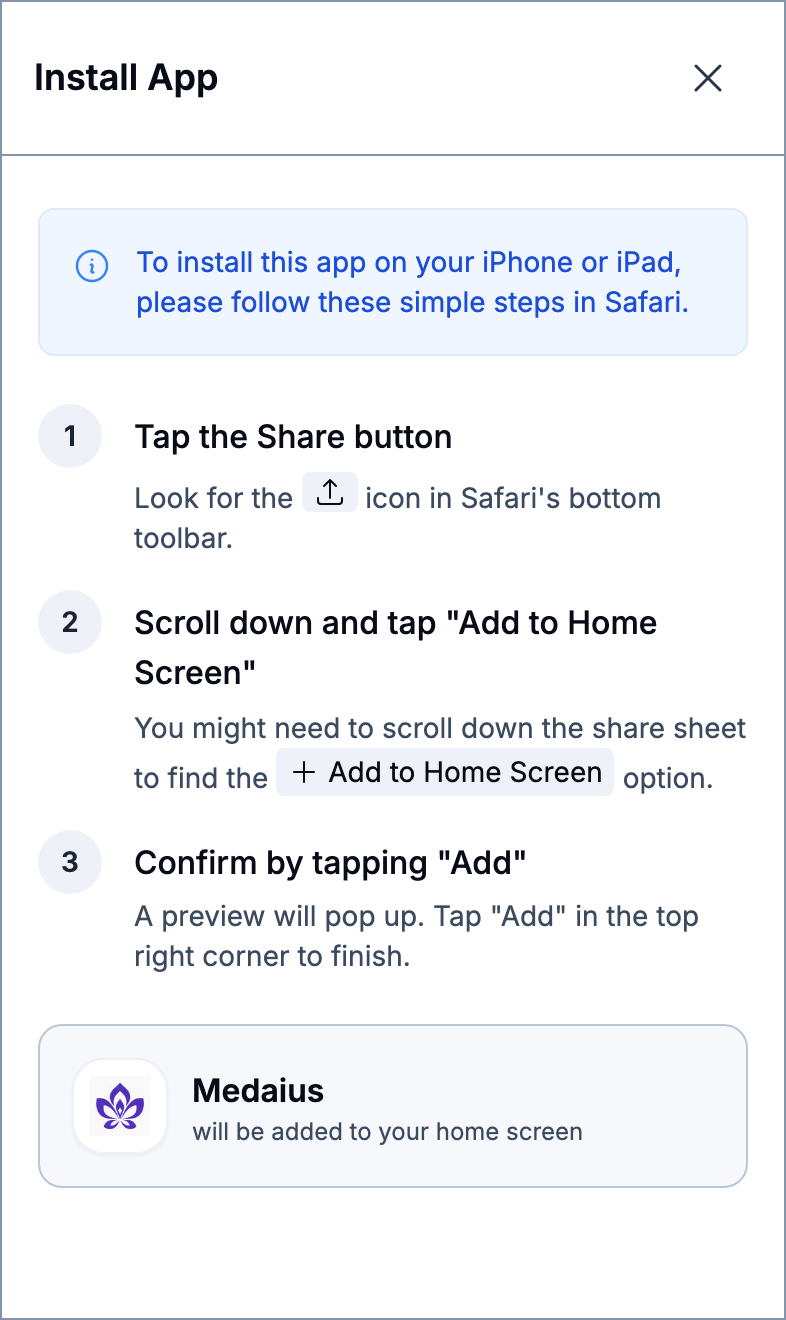
Safari: Add to Home Screen
- Open your clinic portal in Safari.
- Tap the Share button (the square icon with an upward arrow in Safari's bottom toolbar).
- Scroll down the share sheet and tap "Add to Home Screen" (
+ Add to Home Screen). - Tap "Add" in the top-right corner to finish. The Medaius icon will appear on your home screen.
How to Install on Android (Chrome):
- Open your clinic portal in Google Chrome.
- Tap the three-dot menu (
⋮) in the top-right corner. - Tap "Install app" (or "Add to Home screen").
- Tap "Install" to add Medaius to your application drawer and home screen.
Quick Start Checklist
To get your clinic up and running quickly, we recommend the following setup order:
- Configure your Workspace: Set up your clinic's business hours, locations, and branding.
- Invite your Team: Add practitioners, nurses, and administrative staff, assigning them appropriate roles.
- Set Practitioner Availability: Establish weekly timetables for each healthcare provider.
- Register a Patient: Create your first test patient record to explore the clinical charting and encounter flow.
- Start an Encounter: Launch a draft visit note, record vitals, utilize the AI assistant, and sign the session to finalize it.
- Issue an Invoice: Complete the billing session and apply discount or sponsor codes if applicable.
[!TIP] Need to find anything quickly? Press
Cmd + K(Mac) orCtrl + K(Windows) from anywhere to open the Global Command Bar and search patients, encounters, or jump directly to any platform module.
Updated June 2026 for the Medaius Platform
Was this page helpful?
Help us improve our clinical documentation with your quick feedback.